
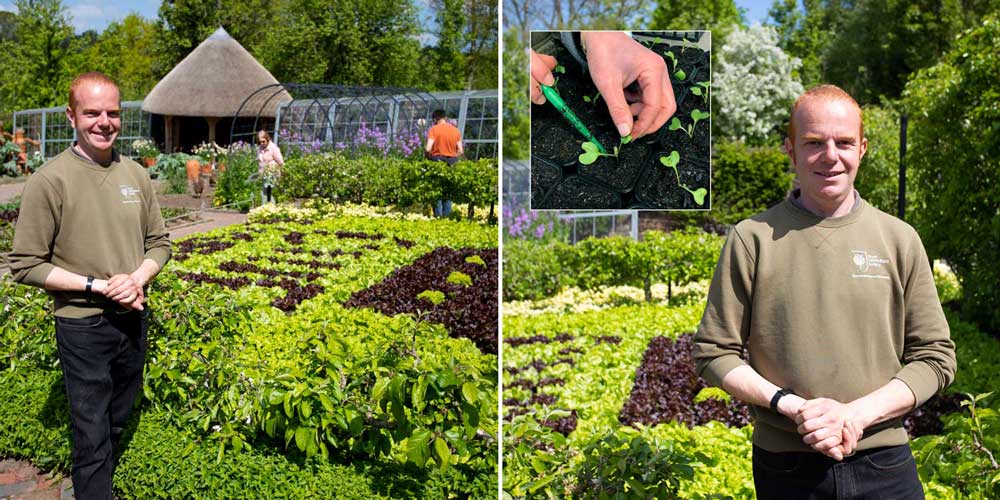
Springing Into Seed Sowing - Peter Adams, Edibles Team Leader At RHS Garden Rosemoor
PETER ADAMS OFFERS TIPS ON HOW TO START GROWING YOUR KITCHEN GARDEN THIS SPRING AND OUTLINES THE INTRICACIES OF OUTDOOR AND INDOOR SOWING
Seed sowing is one of my favourite jobs in the garden. It signals the start of the season, a year of hope and excitement of what will become. Long days spent imagining all those delicious crops you’ll be growing and the tasty meals to be made from them.
Early Spring is when the growing season truly kicks off. Now’s the time to sow the first seeds of what we all hope will become a productive and fruitful year. These little capsules of life hold everything needed to kick start the life of a new plant, all they need is a helping hand to get going.
There are lots of elements to consider with seed sowing, so let’s start by taking a look at the difference between indoor sowing and outdoor sowing.
Indoor Sowing
Sowing seeds indoors demands protection. This helps cultivate warm temperatures and protects young seedlings from frosts, absolutely essential when it comes to tender crops like tomatoes, cucumbers and the pepper family. By contrast, outdoor sowing is generally reserved for tougher crops like broad beans, peas and root vegetables. Typically outdoor vegetables are that little bit hardier and can tolerate less favourable weather conditions. It’s important to remember that sowing into cold wet, waterlogged soils will slow germination or can cause failure due to seeds rotting before they even get started.
| For growing inspiration and more guidance on how to maximise plant growth, check out our How to Grow guides. |
Sowing indoors is my preferred method for most crops. It allows us to control the variables such as weather and temperature, aiding better and more consistent germination. We have to consider the different types of seed we are dealing with, generally we can term these as small seeds and large seeds.
Small seed sowing including the brassica family, lettuces, tomatoes, and chillies need more love and attention than larger bean and pea type seeds.
For the small seeds we use:
- High quality seed compost
- 13cm diameter pots
Sow the seeds carefully on the surface and gently sieve a thin layer of seed compost on the surface. Water them with care and keep somewhere warm and light such as a greenhouse or window sill.
Within about ten to fourteen days you will see the seeds germinating. Once their first seed leaves have fully opened the time has come to prick them out. This involves dividing the seedlings into individuals, and placing them into their own pots to grow on, using a dibber to lower them into a hole made in the compost. Make sure you always handle seedlings by a leaf and not the stem. You may wish to lower the long stems of new seedlings deeper into the compost, almost up to their seed leaves. This can help prevent long and leggy plants developing. Over the next three to four weeks these plants will grow and thrive into larger plants.
|
Remember a plant will get many more leaves in its lifetime, but it will only ever get one stem, if this is damaged at this stage its game over.
|
Growing larger seeds indoors, including beans, and squash family is generally far easier, and less involved.
I like to use a small 7cm diameter pot, filling them with a good quality compost. Using a dibber, making a single hole for one seed, usually about one to one and half times the depth of the seed, lowering the seed in, ensuring it stands on its edge in the dibbed hole rather than lying flat.
If it lies flat, there’s more chance the seed will sit wet and rot. Within a week or so the seed will germinate and quickly break the surface of the compost, bursting into life. After a couple of weeks try not to mollycoddle the young plants too much, moving them somewhere cooler, so they grow that little bit tougher. Once well established and the roots have filled the pots, the young plants can move out into the garden and be planted into their final place.
Outdoor Sowing
Finally, we come to direct seed sowing outdoors. This is a great method for those without indoor growing space and for establishing root vegetables.
For this we need a little patience, waiting for the soil to warm from its winter slumbar and dry a little from the inevitable winter wet, something we’ll usually see by early April.
We need to work the soil into a fine crumb like state, working with a rake back and forth, levelling the ground as you. Now we’re ready to sow!
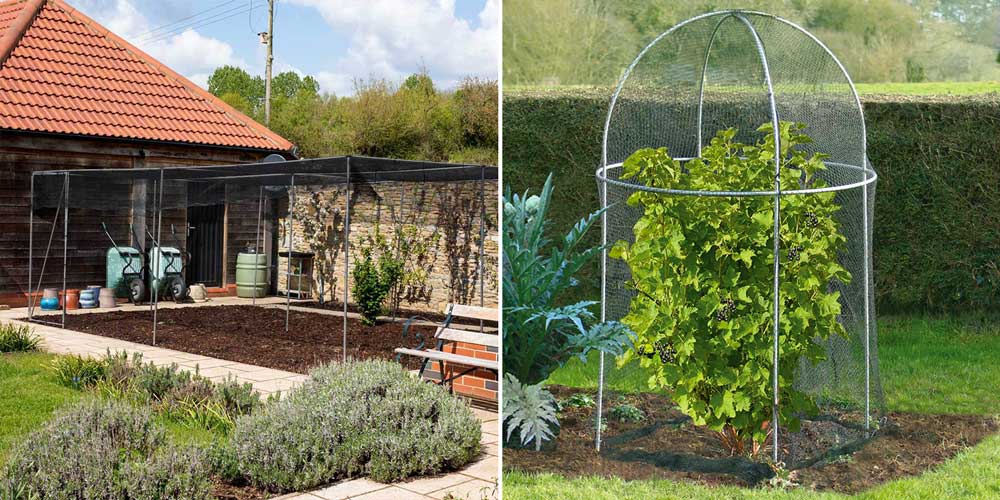
| Fruit cages are a great way to keep your tasty fruit plants protected throughout the growing season, providing a barrier to pests and wildlife, while making sure pollinating insects can still find their way in. |
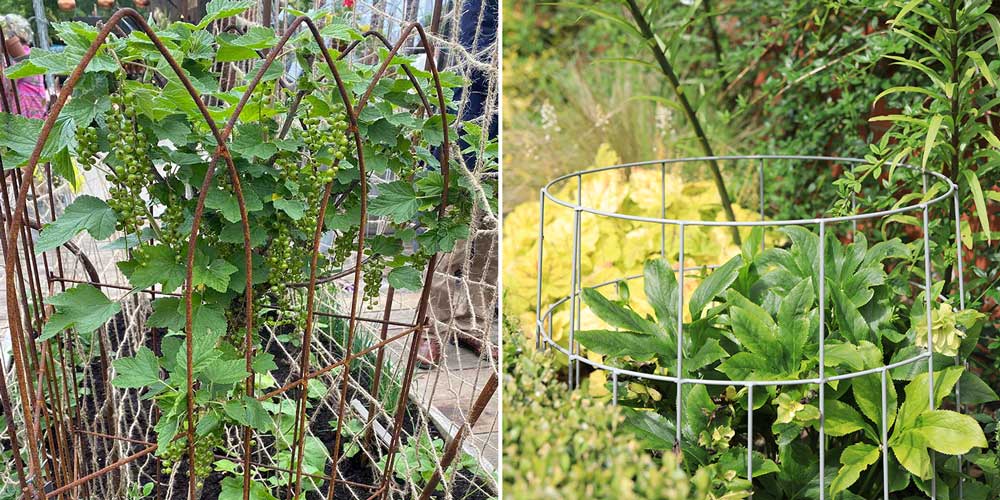
For small seeds we need to draw out a seed drill, a narrow channel into which we can sow. My preference is to use a piece of wood, holding it at a 45 degree angle, gently pushing it into the soil surface. This forms a straight drill into which you can gently sow your seeds, followed by covering them with a thin layer of soil. My top tip for successful germination from here is to keep an eye on the bed, keeping it watered when needed. Whatever you do, don’t let it dry out! This is the number one reason direct seed sowing fails, and will stall the germination process. Remember, proper plant support can help promote growth and give your kitchen garden a stunning look.
Direct sowing of larger seeds is much the same as that for indoor sowing. The soil does not need to be quite as finely tilled as for small seeds, but should still be level and free of large lumps of 2 to 3 cm. From here seeds can be dibbed in, following the seed packets advice regarding spacing and allowed to establish.
Whilst this isn’t a comprehensive guide, hopefully it offers insights and some useful tips to help make your growing year a successful one. Seed sowing is a wonderful process that reaps great rewards. Make the most of this early Spring season in your kitchen garden.


